Shooting
For shooting, use the following steps.
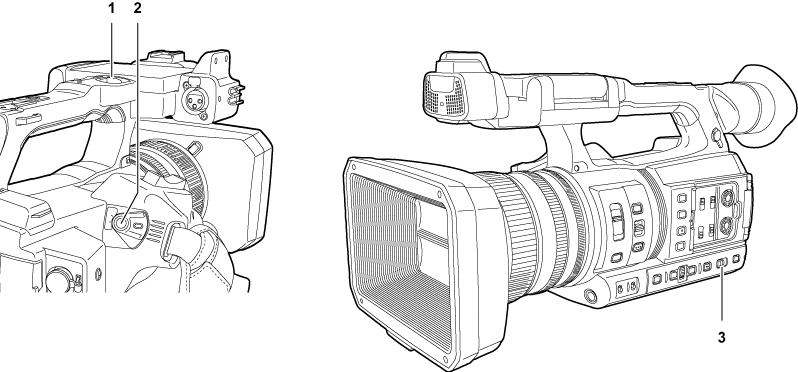
REC button (on the handle)
REC button (on the grip)
<AUTO/MANUAL> switch
Set the video settings and the audio input.
Before shooting, the followings must be set or adjusted.
Image settings for the brightness function (iris, gain, shutter) and the white balance adjustment function, etc.
Audio input settings for audio recording.
Adjusting audio recording level
Select shooting mode with the <AUTO/MANUAL> switch.
<AUTO>: auto mode
[A] is displayed at the upper part of the viewfinder and LCD monitor.
Focus, iris, gain, shutter, and white balance are automatically adjusted.
You can set the operations specified for the auto mode in the [CAMERA] menu → [AUTO SW].
<MANUAL>: manual mode
To adjust focus, iris, gain, shutter speed, and white balance manually, set the camera to manual mode.
To adjust the brightness, adjust the iris and ND filter. (Iris)
To focus manually, use the focus operation. (Focusing (manual focus))
To adjust the white balance, adjust the white balance and black balance. (Adjusting the white and black balance)
To adjust the setting of the audio input and the recording level, switch audio input. (Switching the audio input)
Start the recording by pressing the REC button.
One REC button is located on both the handle and the grip.
The tally lamp is illuminated in red while recording.
Press the REC button again to stop.
Check videos recorded.
After recording ends, pressing the <REC CHECK> button automatically plays back approximately the last three seconds of the last recorded clip.
In this way, you can check whether video has been recorded properly.
Returns to recording standby after checking.