Web screen display on computer
The screen shots in this manual are based on those of Windows (Internet Explorer). The procedures for Mac (Safari) are the same. The screen displays differ in part.
- Start the web browser on your computer.
Depending on the OS on your computer, use the following web browser.
- Windows: Internet Explorer
- OS X (Mac): Safari
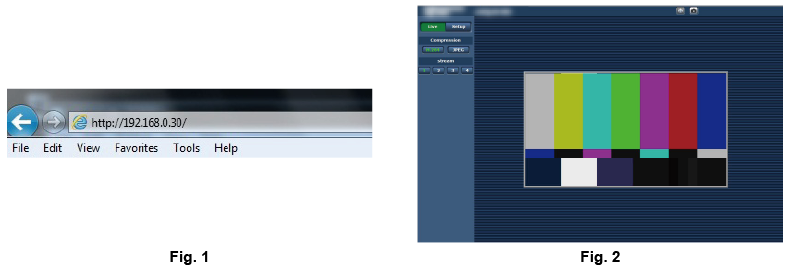
- Enter the IP address set on EASY IP Setup Software in the address field of the web browser. (Fig. 1)
- Press the [Enter] key.
The web screen is displayed. (Fig. 2)
The initial screen is the [Live] screen. Switch this to the [Setup] screen as necessary. (Switching [Live]/[Setup] screens)
 NOTE NOTE
- With a computer on which the plugin software for display is not installed, a confirmation message for installation appears before the [Live] screen is displayed.
If this message appears, install the software by following the on-screen instructions. (Windows) (Installing the plugin software for display)
- A screen to input the user name and the password is displayed before displaying the [Live] screen when [User auth.] ([User auth.]) is set to [On].
The initial user name and password are as follows.
User name: admin
Password: 12345
|
- While using the initial user name and password, a message prompting to change the user name and password appears after authentication.
To ensure security, the password for the user name “admin” must be changed.
It is also recommended that the password is changed regularly.
- If you attempt to display multiple H.264 videos on a single computer, the IP images may not be displayed depending on the specifications of the computer. (Windows)
- Clicking on an underlined item on the screen opens a separate window showing an entry example.
- The maximum number of users that can simultaneously access the camera is 14, which is the total of users receiving H.264 images and users receiving JPEG images.
However, access may be restricted to less than 14 users depending on the settings of [Bandwidth control (bitrate)] and [Max bit rate (per client)].
When the number of users accessing the camera has exceeded the maximum of 14 users, a message indicating excessive access appears.
When [Transmission type] of [H.264] is set to [Multicast port], the second and later users that receive the H.264 images are not counted in the number of users accessing the camera.
- When [H.264 transmission] ([H.264 transmission]) is set to [On], the H.264 images are displayed. When this is set to [Off], JPEG images are displayed.
JPEG images can be displayed even when [H.264 transmission] is set to [On]. However, the maximum refresh rate for JPEG images is restricted to 5 fps. (Windows)
- The refresh rate for JPEG images may decrease depending on the network environment, computer specification, subject, and the number of users accessing the camera.
JPEG image refresh rate
When [H.264 transmission] is [On]: 5 fps maximum
When [H.264 transmission] is [Off]: 30 fps maximum
|