Switching to the USB host mode
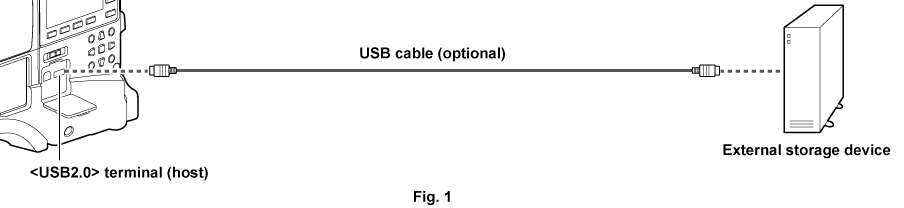
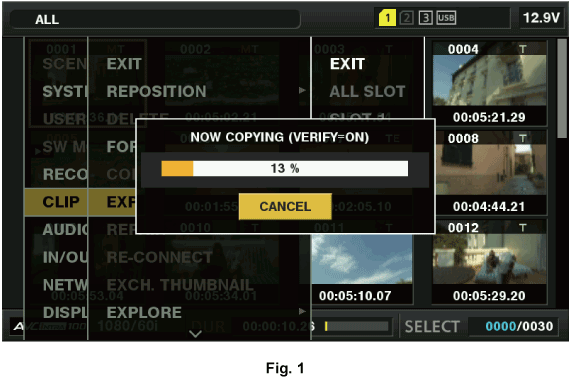
Connect the storage device to the <USB2.0> terminal (host). (Fig. 1)
Set [STORAGE] in the main menu → [NETWORK SETUP] → [USB MODE SELECT].
For details, refer to “Setting menu basic operations”.
Set [ON] in the main menu → [NETWORK SETUP] → [USB MODE].
The camera is switched to the USB host mode.
During USB host mode, [USB STORAGE CONNECTED] is displayed in the center of the viewfinder. If the USB connection is being moved or the hard disk drive is not connected properly, [USB STORAGE CONNECTING...] is displayed.
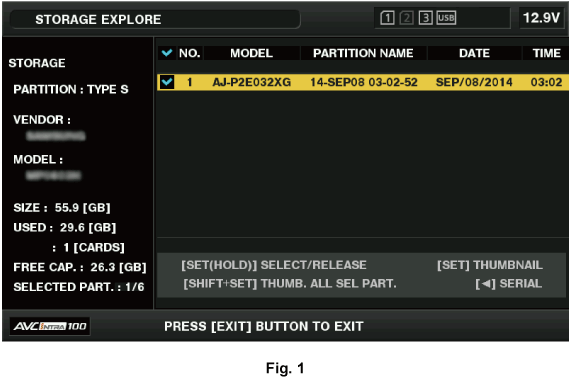
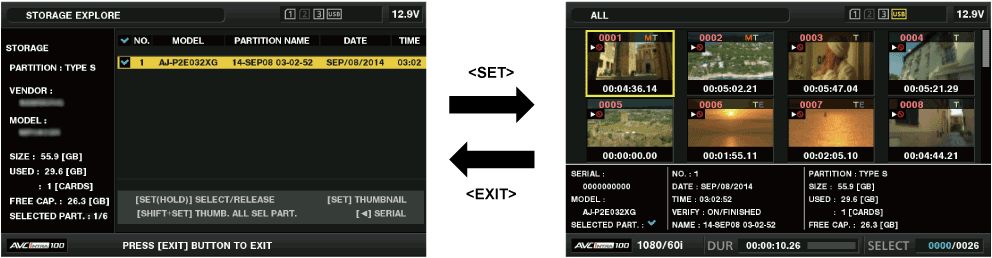
Press the <THUMBNAIL> button.
The thumbnail screen is displayed.
Ensure that
 (white) is displayed at the top right of the screen.
If a storage device is connected, the icon that indicates storage device status at the top right illuminates. However, a red mark indicates that the device cannot be used.
Exit the USB host mode.
There are two methods:
Turn the <POWER> switch of the camera to <OFF>.
With the thumbnail screen closed, set [OFF] in the main menu → [NETWORK SETUP] → [USB MODE].
Press the USER button to which [USB MODE] has been assigned. Note that this is disabled when a menu or thumbnail is open.
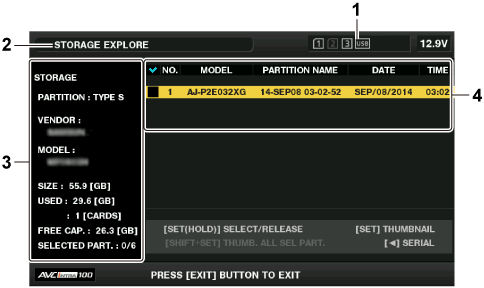
 : Displays a checkmark when a target partition is selected.