Loading clip metadata (metadata upload)
Insert the SD memory card that contains the clip metadata (metadata upload file).
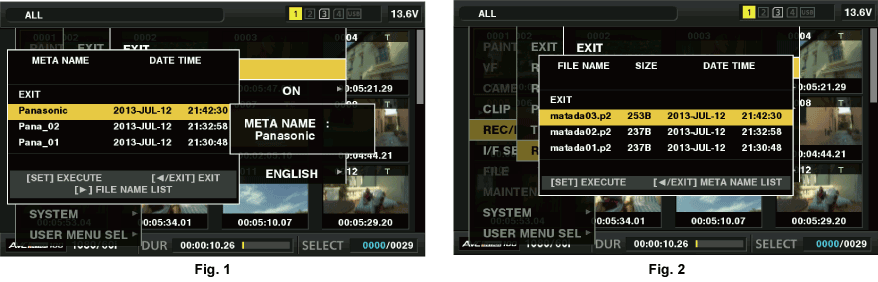
Select [LOAD] in main menu → [REC/PB] → [REC META DATA] and press the <SET> button.
The metadata name of the metadata upload file on the SD memory card is displayed. (Fig. 1)
Use the cursor buttons to select the desired file to be loaded, and select [YES].
Upload starts.
Uploaded metadata is retained even if the power is turned off.
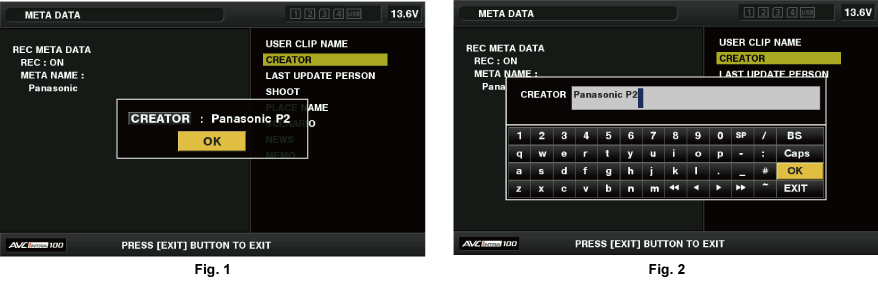
For confirmation of uploaded data, refer to “Checking and modifying uploaded metadata”.
 /
/ ) to move to the beginning or end of the setting details to be changed.